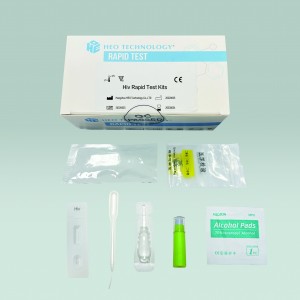


Human Immunodeficiency Virus (HIV 1/2) Rapid Test Cassette
HIV Antibody Rapid Test Kit

SUMMARY
The general method of detecting infection with HIV is to observe the presence of antibodies to the virus by an EIA method followed by confirmation with Western Blot. The One Step HIV Test is a simple, visual qualitative test that detects antibodies in human Whole Blood/ serum /plasma. The test is based on immunochromatography and can give a result within 15 minutes.
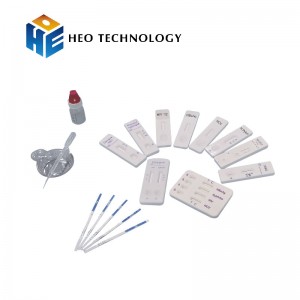
REAGENTS AND MATERIALS SUPPLIED
Test device individually foil pouched with a desiccant
- Test Cassette 25 pcs/box
- Disposable plastic straw 25 pcs/box
- Buffer 1 pcs/box
- Instruction manual 1 pcs/box
MATERIALS REQUIRED BUT NOT PROVIDED
Positive and negative controls (available as a separate item)
STORAGE & STABILITY
The test kits must be stored at 2-30℃in the sealed pouch and under dry conditions.
SAMPLE COLLECTION AND STORAGE
1) Collect Whole Blood /Serum / Plasma specimens following regular clinical laboratory procedures.
2) Storage: Whole Blood can not be frozen. A specimen should be refrigerated if not used the same day of collection. Specimens should be frozen if not used within 3 days of collecting. Avoid freezing and thawing the specimens more than 2-3 times before using. 0.1% of Sodium Azide can be added to specimen as a preservative without affecting the results of the assay.
ASSAY PROCEDURE
1) Using the enclosed plastic dropper for the sample, dispense 1 drop (10μl) of Whole Blood /Serum / Plasma to the circular sample well of the test card
2) Add 2 drops of Sample Diluent to the sample well, immediately after the specimen is added, from the dropper tip diluent vial (or all contents from the single test ampule).

3) Interpret test results at 15 minutes.
READING THE TEST RESULTS
1) Positive: Both a purplish red test band and a purplish red control band appear on the membrane. The lower the antibody concentration, the weaker the test band.
2) Negative: Only the purplish red control band appears on the membrane. The absence of a test band indicates a negative result.
3) Invalid result: There should always be a purplish red control band in the control region, regardless of the test result. If a control band is not seen, the test is considered invalid. Repeat the test using a new test device.
Note: It is normal to have a slightly lightened control band with very strong positive samples, as long as it is distinctly visible.
LIMITATION
1) Only clear, fresh, free flowing Whole Blood /Serum / Plasma can be used in this test.
2) Fresh samples are best but frozen samples can be used. If a sample has been frozen, it should be allowed to thaw in a vertical position and checked for fluidity. Whole Blood can not be frozen.
3) Do not agitate the sample. Insert a pipette just below the surface of the sample to collect the Specimen.